How To Integrate Billplz into WooCommerce Store
April 2
Billplz is a payment platform for organizations to pay and get paid fastest, at the lowest cost possible. It is trusted by more than 40,000 businesses nationwide. We recommend Billplz because they have no setup fee, renewal fee, RM1 per paid FPX transaction, and most importantly, the next business day FPX payout.
These are the steps to integrate Billplz to WooCommerce:
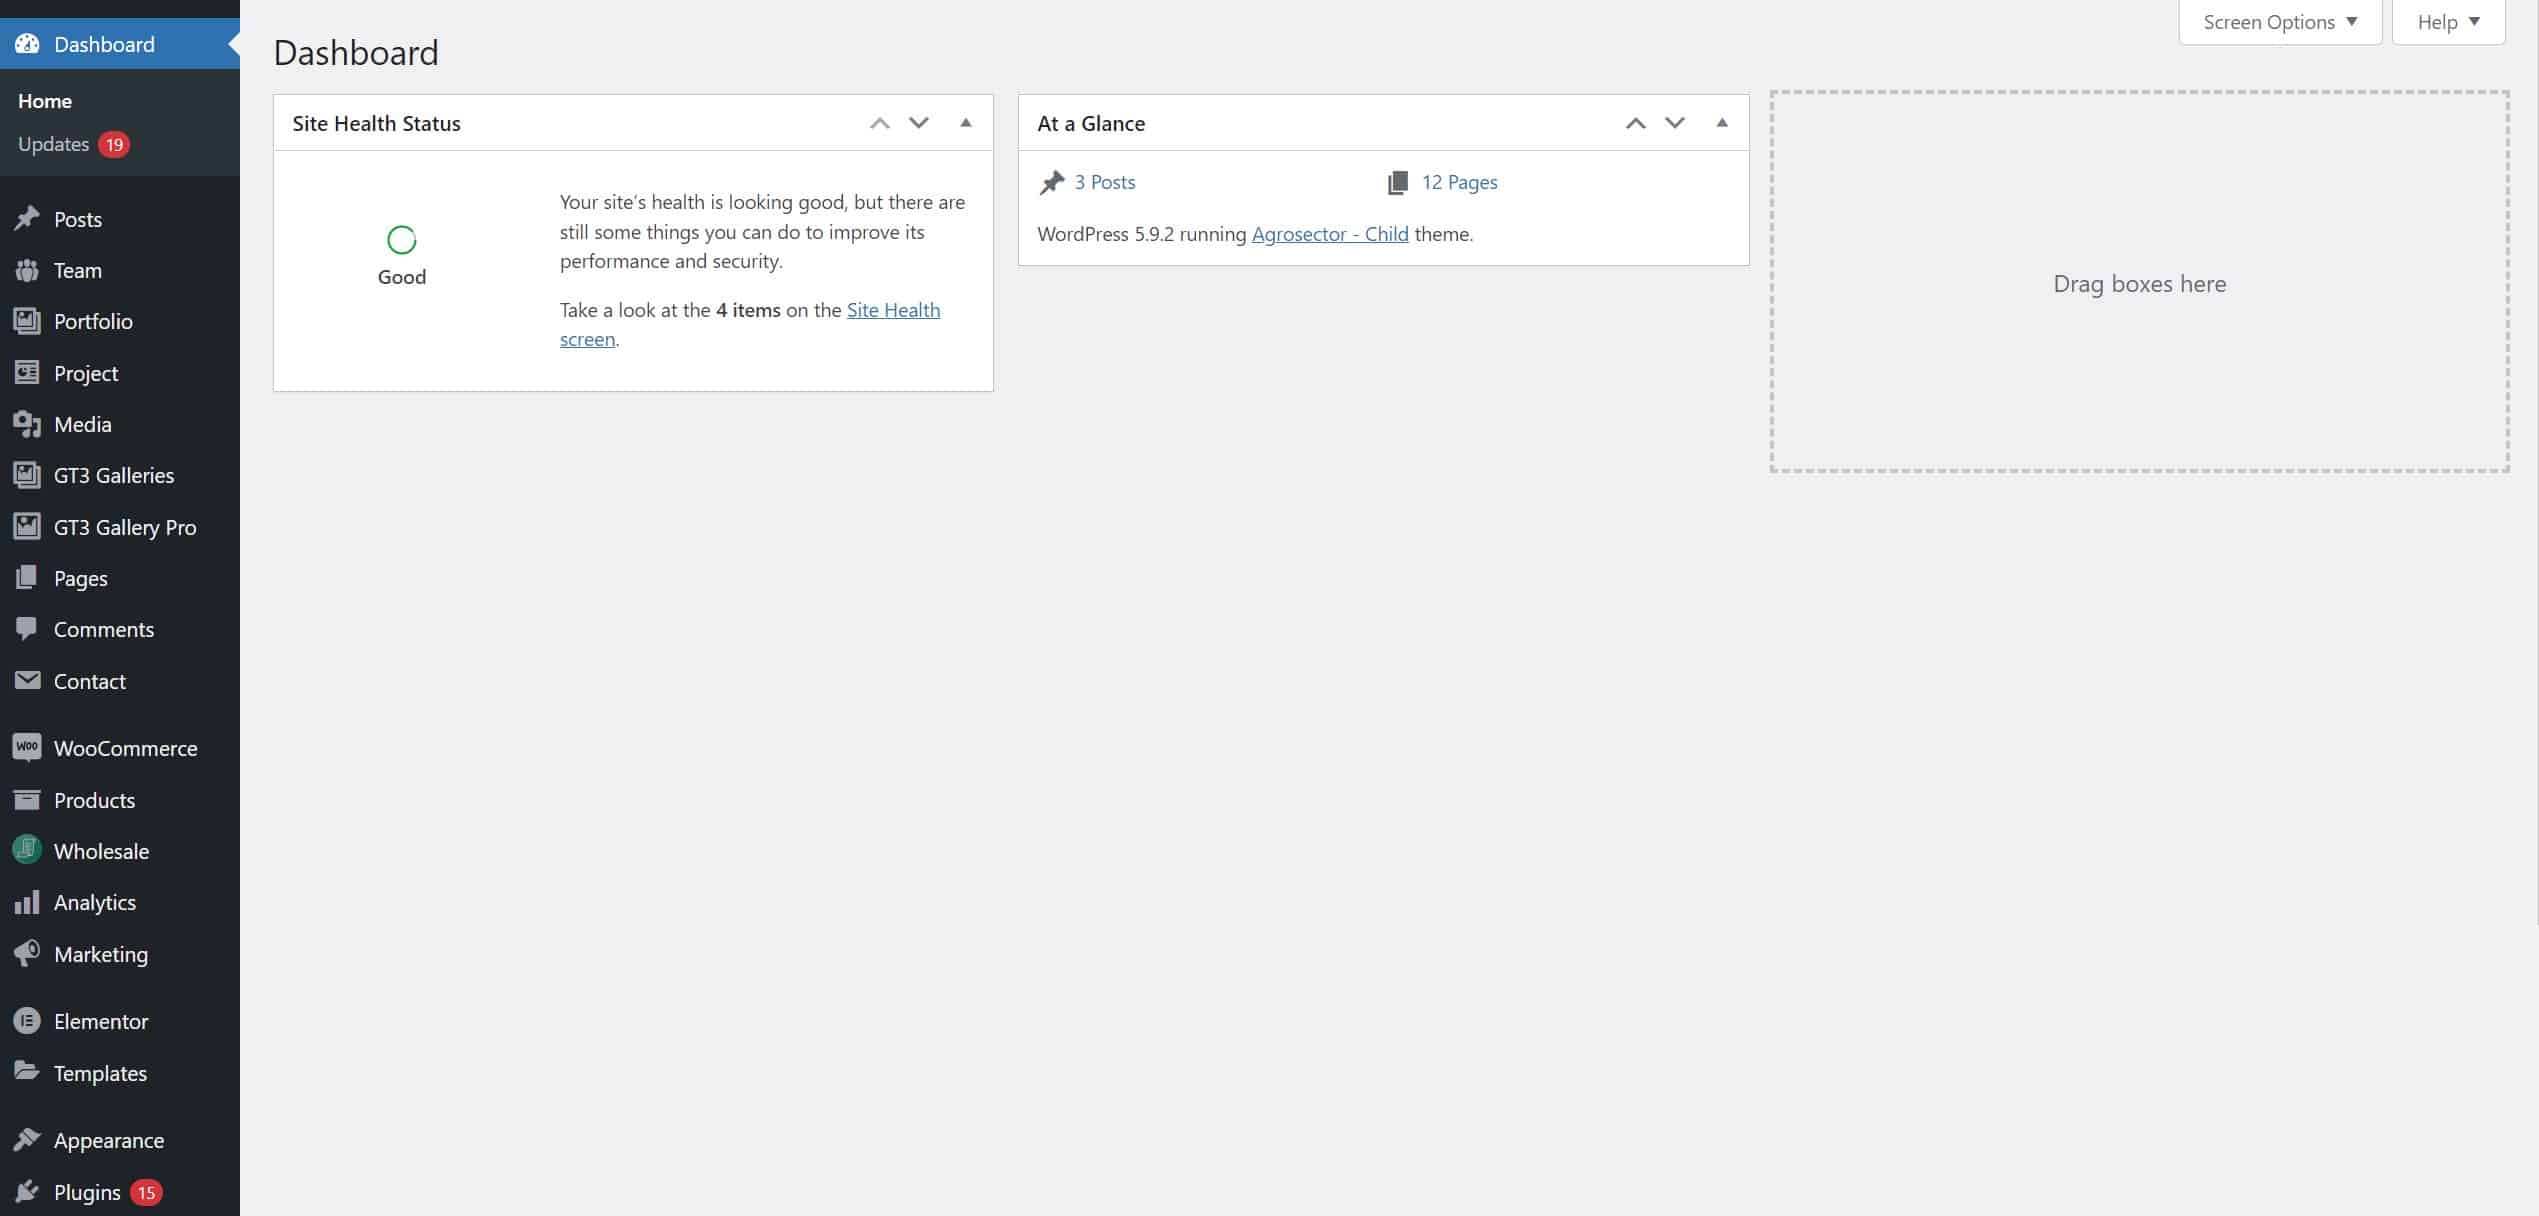
- Login to your WordPress dashboard:

- Click the “Plugins” on the left sidebar and search for the plugins named “Billplz for WooCommerce”. Click Install Now and Activate the plugins.
Once it is done, you are required to fill in the API key, Collection ID and XSignature Key. Go to the WooCommerce > Settings > Payments and there is a new option Billplz is available. Click on that and you can set up whenever you have the information. - When your account is approved by Billplz, you would be able to get the above-required information.
- First, there is an option (billing) on the left sidebar, click on that and you can create a collection and get the collection ID.
- Click on the pointing down arrow and the Settings, you would be able to get the Secret Key (API Key) and the XSignature Key. Copy paste the 3 data to your WooCommerce Billplz settings and it is good to go!
This is the Billplz official website and its pricing. Looking for more inspiration about e-commerce website design, check out our pricing and portfolio here. Follow our social media for the latest updates.


No Comments
Sorry, the comment form is closed at this time.